
How To Sand A Car Before Painting: A Complete Guide
Getting your car ready for a fresh coat of paint? But before that glossy new color can shine, you've got to master one crucial step: sanding. This guide shows you how to sand a car for paint. You’ll get pro-level results, even if it’s your first time. And hey, if you're in Nevada and want expert help, check out this trusted shop for car painting services. Let's get into it.
Preparing the Car for Sanding
Preparation is key before you touch sandpaper. A sloppy prep job can ruin even the best paint job.
1. Clean the Car
You need a clean surface to work on:
- Wash the car thoroughly with soap and water.
- Remove any grease or wax using a degreaser.
- Dry the car completely.
2. Remove or Tape Off Parts
You don’t want to sand parts that don’t need painting:
- Remove trim, badges, emblems, mirrors, and moldings.
- Painter's tape and plastic sheets can be used to cover windows, tires, headlights, and other areas that can't be removed.
3. Inspect for Damage
Before sanding, look for:
- Rust
- Dents
- Scratches
- Cracks in the old paint
Mark these areas. Before you start sanding, you’ll need to treat rust and possibly use filler on dents.
Step-by-Step Sanding Process
Now that your car is prepped, let’s get into the actual automobile sanding process.
1. Choose the Right Sandpaper Grit
Here’s a breakdown of grit options:
- 80-180 grit – For stripping old paint or dealing with heavy rust.
- 220-320 grit – For smoothing surfaces and light sanding.
- 400-600 grit – For final prep before painting.
Start coarse, then go finer.
2. Dry Sand First
Start with dry sanding to remove the old paint and even the surface.
- Use a sanding block or orbital sander.
- Sand in circular or crisscross motions to avoid grooves.
3. Wet Sand for Smooth Finish
After dry sanding:
- Switch to wet sanding with 400-600 grit sandpaper.
- Use water and a few drops of dish soap in a spray bottle.
- Keep the surface and paper wet.
- Wipe with a clean microfiber cloth regularly.
4. Feather the Edges
Blend the edges of the old paint with the sanded areas.
- Use 600 grit paper for feathering.
- You want a smooth transition, no sharp lines.
5. Clean the Surface Again
Once sanding is complete:
- Wipe down the car with wax and grease remover.
- Check under different lighting for any missed spots.
Sanding Troubleshooting
Even if you follow all the steps, issues can still come up. Here are common problems and how to fix them:
Uneven Sanding Marks
- Cause: Too much pressure or using the wrong grit.
- Fix: Go over the area again with finer grit and even strokes.
Sand-Through to Bare Metal
- Cause: Excessive pressure.
- Fix: Spot prime and sand again with 320 grit before painting.
Swirl Marks
- Cause: Dirty or reused sandpaper.
- Fix: Always use clean, fresh sandpaper and wet sand the final layer.
Final Pre-Paint Inspection
Don’t skip this part! Before you pick up the paint sprayer:
- Check for Dust: Use a tack cloth to remove all fine particles.
- Inspect for Scratches: Shine a flashlight at an angle to catch any flaws.
- Check Surface Smoothness: Glide your hand over the surface. It should feel smooth like glass.
- Mask Again If Needed: Re-check all tape and plastic coverings.
At this point, your car is ready to move to primer or paint. If you're not painting it yourself, it's time to let the pros take over.
Choose D&C Classic Garage Car Painting Services for Your Car
Sanding is a lot of work; it takes time and skill. If you want to get that showroom finish without lifting a finger, trust the team at D&C Classic Garage. They specialize in painting old cars, custom finishes, and full restorations.
If you're restoring a classic car or updating your daily driver, their car painting services in Sparks, Nevada, offer great, long-lasting results.
Real Data: Why Prep Work Like Sanding Matters
A 2023 report from Research and Markets shows that over 60% of paint defects result from skipping or poorly performing surface prep, such as sanding.
A study by Sherwin-Williams Automotive Finishes found that poor sanding is the top reason for adhesion failure in repaint jobs.
Moral of the story? Taking your time with sanding saves money, time, and your final result.
"Automotive Refinish Coatings Market - Global Forecast to 2029," Research and Markets; "Top 10 Causes of Refinish Failures," Sherwin-Williams Automotive Finishes.
Ready to Paint or Want a Pro to Handle It?
You now know how to sand a car for paint step-by-step. Prep work is key for a great paint job. You can do it yourself or hire experts.
If you're serious about results and want to skip the hassle, check out D&C Classic Garage's car painting services. They’ll make your car look like it just rolled off the showroom floor. Want that kind of finish? Call them today or visit their shop in Sparks, Nevada. Your car deserves it.
FREQUENTLY ASKED QUESTIONS
How do I choose the right grit of sandpaper for my car?
Start with 80-180 grit to remove paint or rust, then move to 320 for smoothing. Finish with 400-600 grit for pre-paint.
Can I use a power sander for the entire sanding process?
Yes, but be careful. A power sander saves time, but can remove too much if you’re not gentle. Always switch to hand sanding for tight spots and final smoothing.
Is it necessary to remove all trim and moldings before sanding?
Yes. Leaving them on risks uneven sanding and damage, and makes painting trickier. Always remove or mask off non-painted parts.
Can I skip the fine sanding step if I'm in a hurry?
Definitely not. Skipping the last sanding step can cause visible scratches, poor paint adhesion, and an uneven finish.
RELATED POSTS
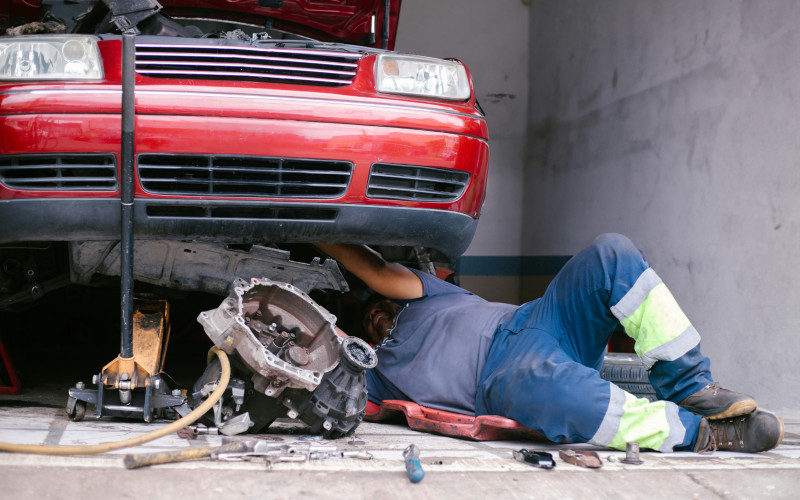
Whether you own a classic muscle car, a daily driver, or a weekend project vehicle, knowing how to use a jack for a car is an essential skill. A car jack allows you to safely lift your vehicle for tire changes, brake inspections, suspension work, and many other maintenance tasks. However, lifting a vehicle incorrectly can lead to serious damage or injuries.
Classic cars turn heads for a reason. Their paint, chrome, leather, and original trim capture the design and craftsmanship of another era. However, sunlight can quietly destroy those details over time. UV rays fade paint, dry out leather, crack dashboards, and weaken vinyl interiors. If you want your investment to stay beautiful and valuable, you need a smart plan for long-term protection.

Classic cars turn heads in every season, but summer creates unique challenges that owners cannot ignore. High temperatures, intense sunlight, and long road trips put extra stress on older engines, cooling systems, paint, and interiors. A well-maintained classic car can handle summer heat with confidence, but neglect often leads to overheating, faded finishes, and expensive repairs.
Classic car enthusiasts often search for the most thorough and precise way to rebuild their vehicles. Among all available methods, rotisserie restoration stands out as the gold standard. It delivers unmatched access, accuracy, and long-term value. If you’ve ever wondered why professionals rely on this approach, this guide breaks it down in clear, practical terms.